
Why Your Manufacturing Choice Matters
When I first stepped into the world of rubber manufacturing, I was overwhelmed by the variety of processes available—each with its unique strengths, costs, and ideal applications. Rubber components are critical in sectors ranging from medical devices and automotive systems to electronics and consumer goods. Yet choosing the right production method often feels like navigating a maze.
Should I choose rubber molding, the time-tested method trusted for decades? Or is 3D printing the smarter move for today’s agile product development?
If you’re a procurement specialist, product manager, or R&D engineer, this decision can affect everything—from time-to-market and cost to long-term product reliability.
That’s why in this article, I’ll walk you through a clear, side-by-side comparison of rubber molding and 3D printing. I’ll help you understand not just the processes, but the hidden factors that impact cost, delivery time, product quality, and practical applications.
Here are the proven insights that can help you make the right call for your next rubber part project.
Process Principles Explained
Understanding the basic workflow of each method is the first step toward an informed decision. Here’s how each process works and what it’s best suited for:
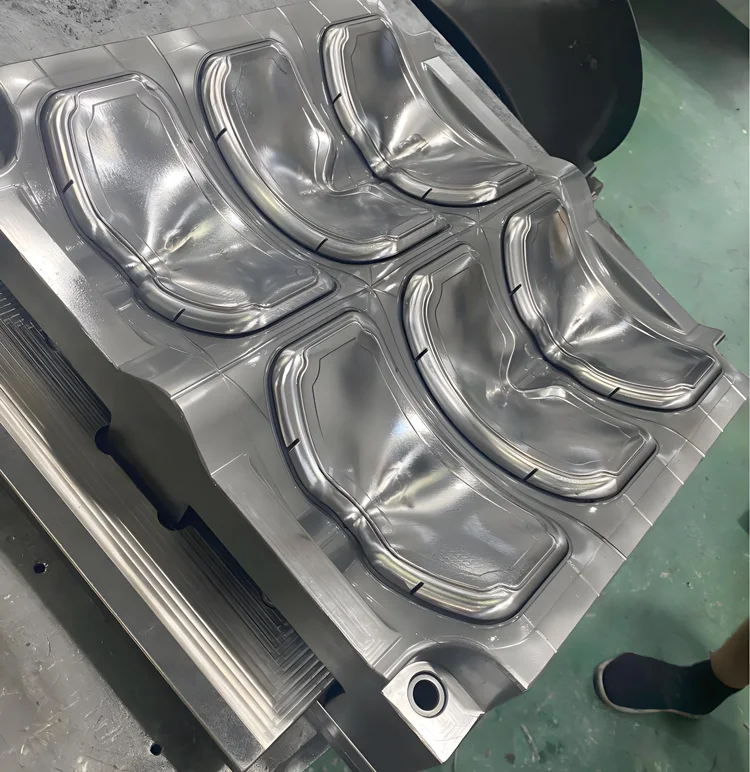
Rubber Molding: Traditional, Scalable, Reliable
In compression or transfer molding—the most common types used in rubber processing—the workflow typically follows these five steps:
- Mold Creation: A metal mold is precision-machined based on the product’s 3D design.
- Material Loading: Uncured rubber is placed into the mold cavity.
- Vulcanization: Heat and pressure are applied to cure the rubber inside the mold.
- Demolding: Once cured, the part is removed from the mold.
- Trimming: Flash and excess rubber are trimmed for final finish.
This method excels at mass-producing uniform parts with excellent mechanical performance. However, it requires upfront investment in tooling and longer lead times to get started.

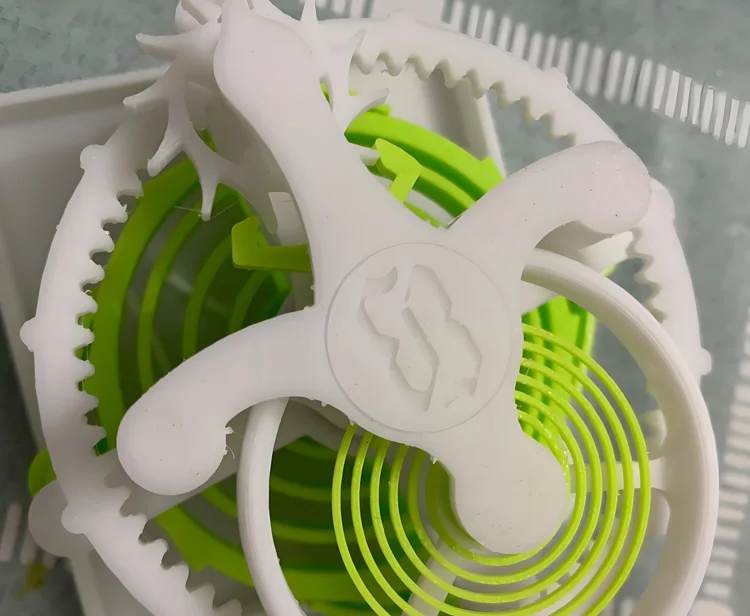
3D Printing: Agile, Custom, Mold-Free
3D printing rubber parts—usually using TPU (thermoplastic polyurethane) or flexible photopolymer resins—follows a completely different logic:
- 3D Modeling: The part is digitally designed in CAD software.
- Slicing: The model is sliced into printable layers using specialized software.
- Printing: A printer deposits material layer-by-layer to form the part.
- Post-Processing: Parts are cleaned, cured, or finished depending on the technology used (e.g., SLA, PolyJet, or FDM).
The biggest advantage? No mold is required, and design changes can be implemented instantly. It’s ideal for prototypes, complex geometries, or low-volume runs.
“If I need 10 flexible gaskets by next week, I choose 3D printing. If I need 10,000 that must pass durability tests, molding wins every time.”
Summary
- Molding is built for volume and repeatability.
- 3D Printing is built for speed and design freedom.
Key Selection Comparison Table
To help you make faster, clearer decisions, I’ve organized the core differences between rubber molding and 3D printing into a single comparison table. This snapshot gives you a direct look at how each process stacks up in the areas that matter most for procurement and design.
| Comparison Item | Rubber Molding | 3D Printed Rubber | Recommended Use Case |
|---|---|---|---|
| Minimum Order Qty | High (500+ pieces) | Low (single-piece friendly) | Use 3D for small batches, molding for large runs |
| Unit Cost | Low (at volume) | Higher (no tooling costs) | Under 500 units? 3D might be cheaper |
| Production Lead Time | Long (2–8 weeks for molds) | Short (1–7 days) | Urgent or short-term needs → 3D |
| Design Complexity | Limited (must consider mold release) | Flexible (hollow, organic shapes) | Complex geometries → 3D printing |
| Material Performance | Excellent (industrial-grade rubbers) | Good (TPU, elastomeric resins) | High performance → molding |
| Surface Finish | Smooth, ready-to-use | May require post-processing | Appearance-critical → molding |
| Sustainability | Mold waste, more offcuts | High material efficiency | Green goals? → Favor 3D printing |
Key takeaway: 3D printing is unmatched for flexibility and speed, while molding dominates in performance and long-term efficiency.
This side-by-side view is a shortcut I often use when advising clients. Whether you’re scaling a project or prototyping, it pays to know the tradeoffs clearly.
Cost Analysis
The cost of manufacturing rubber parts isn’t just about the per-unit price. It’s a conversation between tooling, materials, processing, lead time, and lifecycle strategy. Thanks to advancements in CNC machining and tooling methods, mold costs can be much more manageable—let’s unpack both rubber molding and 3D printing in depth.
1. Rubber Molding Cost Structure
a. Mold Tooling Cost
Modern CNC and EDM technologies enable cost-effective mold fabrication tailored to project complexity and volume:
- Low-volume aluminum molds (often single-cavity): as low as $500–$1,000, depending on part size and feature intricacy.
- Mid-range aluminum or low-cost steel molds (1–5k pcs): typically $2,000–$5,000.
- High-end steel multi-cavity or complex molds: from $7,000 up to $20,000–$100,000, especially for large production runs and precision requirements.
A Reddit poster shared that a manufacturer quoted US $1,300 for a mold and $6 per part, while others quoted up to $14,000—clearly demonstrating how cost varies with design, material, and supplier.
b. Per-Part Production Cost
Once the mold exists, per-unit costs drop significantly:
- Material costs (industrial elastomers like silicone or EPDM) range from $1 to $5 per kg, depending on type and grade.
- Production rate: Molding cycles are fast—hundreds to thousands of units per day—so labor and machine time per unit are low.
- Overall, unit costs can range from $0.50 to $10 depending on material, size, and post-processing needs
c. Cost Drivers and Optimization
Key factors affecting molding costs include:
- Mold material—Aluminum molds cost less and suit low-medium volume, while hardened steel lasts longer for high-volume production (Wikipedia).
- Complexity and tolerances—More cavities, fine textures, or tight tolerances push mold price higher
- Lifecycle expectations—Aluminum mold often supports tens of thousands of parts; steel mold may last millions (Wikipedia).
- Maintenance and upgrades—Good mold care extends life; unplanned repairs can add cost.
d. Strategic Implications
- Low-volume (<1k pcs): Aluminum molds at <$5K can deliver per-unit costs of $2–5, typically cheaper than 3D printing when scaled slightly beyond prototypes.
- Medium volume (1k–10k pcs): Mold cost amortized, unit cost drops below $1—highly cost-effective for long-term production.
- High volume (>10k pcs): Steel molds amortize even better, and tooling costs per part become negligible.
2. 3D Printing Cost Structure
a. Tooling and Setup
3D printing eliminates traditional molds entirely—your costs are driven by machine time, materials, and labor.
- Printer CapEx ranges widely: From desktop hobby machines ($200–1,000) to industrial resin systems ($2,000–10,000+) .
- No dedicated tooling cost is needed, offering incredible flexibility.
b. Material and Per-Part Cost
- Material Expenses: Flexible resins cost around $50/kg, more for specialized elastomers. TPU powder or filaments are also priced $50+ per kg
- Additional Factors: Support structures, post-processing labor, electricity, and machine wear all add cost.
On average, unit cost often falls between $5 and $50 depending on size and complexity, and remains consistent regardless of batch size.
c. Scaling and Efficiency
Advances in production-grade printers (like SLS and HP Multi Jet Fusion) reduce per-part cost and increase throughput. At 10k units, some service providers report:
- Molded parts: $0.99 per piece
- 3D-printed parts: around $7 per piece
For small batches, 3D printing remains indispensable, but scaling beyond several hundred parts requires careful cost comparison.
3. Summary Cost Comparison
| Scenario | 3D Printing | Rubber Molding |
|---|---|---|
| Tooling Upfront | $0 (no mold) | $500–$20,000+ depending on material & complexity |
| Per-Part Cost | $5–$50 (fixed) | $0.5–$10 depending on production & volume |
| Breakeven Volume | ~500 parts or less | >>500 parts; optimal when >1,000 |
| Flexibility | High (instant iteration) | Lower (tool lead time needed) |
4. Decision Framework
- Under ~500 parts: 3D printing is almost always the better economic option—no mold, rapid turnaround, and design flexibility.
- Between 500–1,000 parts: Compare both options—account for mold amortization, part cost, and time. Often a low-cost aluminum mold can tip the balance.
- Over 1,000 parts: Traditional molding shows a clear cost advantage. Expect unit cost below $1 with a performant mold.
- Frequent design updates: Combine strategies—prototype in 3D printing, then commit to molding once design is stable.
Modern mold tooling has become more accessible and lower in cost due to CNC efficiency. By aligning your volume and performance needs, you can now strike the right balance between rapid prototyping and cost-effective mass production.
Delivery Lead Time Comparison
In today’s competitive market, speed matters—whether you’re launching a new product or responding to a last-minute order. Let me break down the turnaround times you can realistically expect from rubber molding vs. 3D printing, and when each is the smarter move.
Rubber Molding: Delayed Start, Efficient Volume
Lead Time Factors:
- Mold Fabrication: Typically takes 2 to 8 weeks depending on complexity, workload, and material.
- Trial Runs: Post-mold testing and first-article inspection may add 1 additional week.
- Mass Production: Once tooling is confirmed, production can move quickly—thousands of pieces per day is achievable.
Best Fit:
- Long-term projects with stable demand
- Bulk production where lead time can be planned
3D Printing: Instant Start, Slower Scale
Lead Time Factors:
- No Mold Delay: You can begin printing the moment the 3D model is finalized.
- Delivery Time: For most parts, 1 to 7 days is realistic depending on size, material, and post-processing needs.
Best Fit:
- Rushed sample requests
- Trade show mockups
- Engineering prototype iterations
| Scenario | Recommended Process |
|---|---|
| Sample for urgent test | 3D Printing |
| Trade fair display model | 3D Printing |
| Monthly batch of 10,000 pcs | Rubber Molding |
“In one recent case, I had a medical client needing 25 custom-fit silicone valves in 72 hours. 3D printing was the only option—and it delivered.”
Quality and Performance Comparison
No matter how fast or affordable a process is, it won’t matter if the part fails in real-world conditions. That’s why understanding the quality and performance tradeoffs between rubber molding and 3D printing is critical—especially for functional components like seals, gaskets, or vibration-dampening elements.
Material Selection
Rubber Molding:
Traditional molding supports a wide range of industrial-grade elastomers like:
- Silicone (VMQ) – excellent thermal stability and biocompatibility
- EPDM – great for weather and UV resistance
- NBR – oil-resistant, ideal for automotive and hydraulic use
- FKM (Viton®) – high chemical and temperature resistance
These materials are often certified to meet industry standards like FDA, RoHS, or UL.
3D Printing:
Limited to thermoplastic elastomers and resins, such as:
- TPU (FDM/SLS) – durable, flexible, abrasion-resistant
- Flexible SLA Resins – good detail, moderate durability
- PolyJet Rubber-Like Materials – soft touch, great for aesthetics
While useful for testing and low-demand applications, most 3D-printed rubbers are less heat and chemical resistant than molded compounds.
Dimensional Precision & Surface Quality
| Property | Rubber Molding | 3D Printing |
|---|---|---|
| Dimensional Tolerance | ±0.1 mm (typical) | ±0.05–0.2 mm depending on technology |
| Surface Finish | Smooth, mold-finished | Layered appearance, post-processing required |
| Strength Consistency | Excellent across batches | Variable, especially across build axes |
Application-Based Recommendations
| Use Case | Recommended Process |
|---|---|
| High-flex sealing rings | Rubber Molding |
| Hollow, lightweight cushioning | 3D Printing |
| Cleanroom medical-grade parts | Rubber Molding |
| Custom-fit prototypes or inserts | 3D Printing |
“For critical engine gaskets, I trust molding. For ergonomic mockups or design testing, 3D printing gives me exactly what I need—fast.”
Industry Applications Compared
Every industry has its own priorities—speed, volume, flexibility, or durability. Over the years, I’ve seen how the choice between rubber molding and 3D printing plays out differently depending on the sector. Here’s a breakdown of which process fits best in various fields:
| Industry | Recommended Process | Why |
|---|---|---|
| Medical | 3D Printing | High customization, rapid prototyping, small batches |
| Automotive | Rubber Molding | High-volume, consistent mechanical performance needed |
| Consumer Electronics | Both Combined | Smooth finishes + fast iteration: mold for mass, 3D for mockups |
| Industrial Equipment | Rubber Molding | Demands high durability: heat, oil, and aging resistance |
Real-World Examples
- Medical Devices: A startup producing orthopedic braces used 3D printing to prototype 12 different geometries before locking the final design for molded production.
- Automotive Grommets: For a client supplying to a major OEM, molded EPDM parts were the only solution to meet both cost and performance specs at 50,000 units.
- Smartwatch Prototypes: A tech company created flexible bands in 3 days with PolyJet 3D printing to present at CES—long before final production tooling was complete.
“In R&D phases, 3D printing saved my clients weeks. In deployment phases, molding saved them millions.”
Every stage of your product lifecycle—from idea to mass production—can benefit from a process tailored to your industry’s pace and precision demands.
How to Choose the Right Supplier
Whether you’re developing a single prototype or preparing for high-volume production, the choice of supplier can make or break your project. I’ve worked with dozens of vendors globally, and here’s what I’ve learned about what separates the reliable from the risky—for both molding and 3D printing.
Rubber Molding Supplier Checklist
To ensure consistency, compliance, and delivery in molded rubber parts, ask:
- Do they own in-house mold tooling facilities?
In-house capabilities shorten lead times and reduce miscommunication. - What is their vulcanization and material control process?
High-quality compression requires tight control over curing parameters and material batch tracking. - Can they provide certification and performance testing?
Look for ISO, FDA, or UL certifications for peace of mind, especially in regulated industries. - Do they support scalable production?
From 500 to 100,000+ pieces, a good supplier should scale with you.
3D Printing Supplier Checklist
Flexibility is key with 3D printing, but quality shouldn’t be sacrificed:
- What types of elastomer materials and machines do they support?
FDM, SLA, and PolyJet all produce different results—make sure the supplier is transparent. - Do they offer in-house post-processing (like cleaning, coating, or coloring)?
This saves time and ensures a better finish without shipping parts elsewhere. - Do they provide DfAM (Design for Additive Manufacturing) support?
Great suppliers help tweak your model for better printability and strength.
“One red flag I always watch for: vendors who outsource tooling or printing without telling you. Direct control equals better accountability.”
Common Misconceptions to Avoid
Choosing between rubber molding and 3D printing isn’t always straightforward—especially when popular myths muddy the waters. I’ve heard plenty of them in meetings and RFQs, and I want to help you avoid the traps I’ve seen others fall into.
| Misconception | Reality Check |
|---|---|
| “3D printing is only for plastic mockups” | Modern printers now support flexible elastomers usable in real parts. |
| “Rubber molding is always more expensive” | Only true for low volumes—molding becomes cheaper at scale. |
| “3D printing lacks precision” | High-end printers can reach ±0.05 mm, rivaling many molding processes. |
| “Molding can’t handle complex designs” | With split tooling and clever parting lines, intricate shapes are possible. |
Clarifying the Boundaries
- 3D Printing ≠ Prototype Only
I’ve helped clients produce low-volume final parts with TPU that held up in field tests. - Rubber Molding ≠ Outdated
It remains the gold standard for durable, tested, and certified components in mission-critical applications.
“Most of the confusion I see stems from applying old truths to modern tech. The landscape has evolved—your mindset should too.”
Conclusion & Decision Guide
After years of working with engineers, product managers, and procurement teams across industries, I’ve found that the best decision-making framework boils down to five simple questions:
- Small quantity (<100 pcs) or just a prototype? → Choose 3D Printing
- Long-term, high-volume production (>1000 pcs)? → Choose Rubber Molding
- Complex geometry (hollow, organic, fine details)? → Favor 3D Printing
- High performance needed (heat, oil, wear resistance)? → Choose Molding
- Urgent timeline (delivery <7 days)? → Go with 3D Printing
My Final Recommendation
- Use 3D printing for speed and design flexibility.
It’s unbeatable for early-stage development, last-minute changes, and niche applications. - Use rubber molding for consistency, scale, and performance.
It’s the go-to for delivering rugged, high-quality parts at volume.
Hybrid Strategy: The Best of Both Worlds
Many of my most successful clients start with 3D printing for prototyping and short runs, then scale to rubber molding once the design is locked in and demand increases.
“Think of 3D printing as your sprint, and rubber molding as your marathon.”
By combining both methods strategically, you can reduce risks, speed up development, and optimize cost-performance throughout your product lifecycle.